Mac OS X can be fully installed onto an external hard drive, using a couple of easy to follow steps. This can be extremely useful for developers, who often times want to test different versions of Mac OS or need multiple testing environments. However, this can also be useful for anyone at all who simply wants to have another copy of Mac OS X to use.
Before we get started, the objective of this tutorial is to install a full fledged copy of Mac OS X onto an external hard drive; NOT to install Mac OS X onto your computer using an external hard drive, although the process is similar. When finished, you will be able to boot into a full version of Mac OS that is stored and ran off of an external hard drive. You will also be able to boot into the normal OS X on your computer as well.
Start off by launching
disk utility, using the path
Finder > Applications > Utilities > Disk Utility.
With Disk Utility open and active on your computer, it is now time to connect your external hard drive (which you will be using to store OS X) to your computer. This can be either a USB or Firewire external hard drive.
Once connected, your external hard drive will show up in the left-hand side devices windows of Disk Utility. Click to select your
actual hard drive. In our example, we have named the hard drive Mac OS X, but the actual hard drive is 250.06 GB WDC WD25 0…
Click the
Partition tab to view current schemes for your external hard drive. You can choose to partition the drive anyway that you’d like, but for our tutorial, we will be using a one partition drive, because the drive will be used solely to hold OS X. To select your
partition scheme, click the
Volume Scheme: drop down menu and select the number of partitions from the list.
After you have done that, click the
Options… button, located near the bottom of the Disk Utility window.
A drop down menu will appear, prompting you to choose a partition scheme. Choose the option
GUID Partition Table and click the
OK button.
Finally,
enter a name for your Partition and make sure that Format is set to
OS X (Journaled). You can also enter a custom allocation size for the partition if you would like. For this tutorial, we are using one partition, so we will use the entire drive. Click the
Apply button to save changes.
A drop down menu will appear, asking you to confirm that you want to partition the hard drive. Click the
Partition button.
Once the drive finishes partitioning and formatting, you can begin installing Mac OS X. Insert a Mac
OS X installation CD/DVD into the SuperDrive on your computer. For this demonstration, we will be using an OEM 10.6
Snow Leopard disc.
Double click on
Mac OS X Install DVD, or your particular CD/DVD icon to enter setup. Once the Mac OS X Install DVD setup
window opens, select the option
Install Mac OS X.
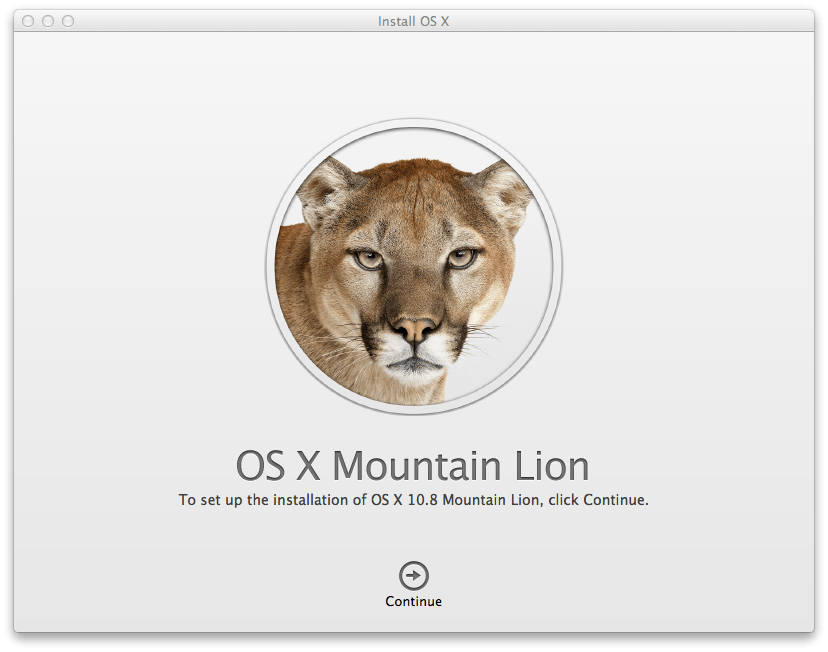
Click
Continue to proceed past the first install screen.
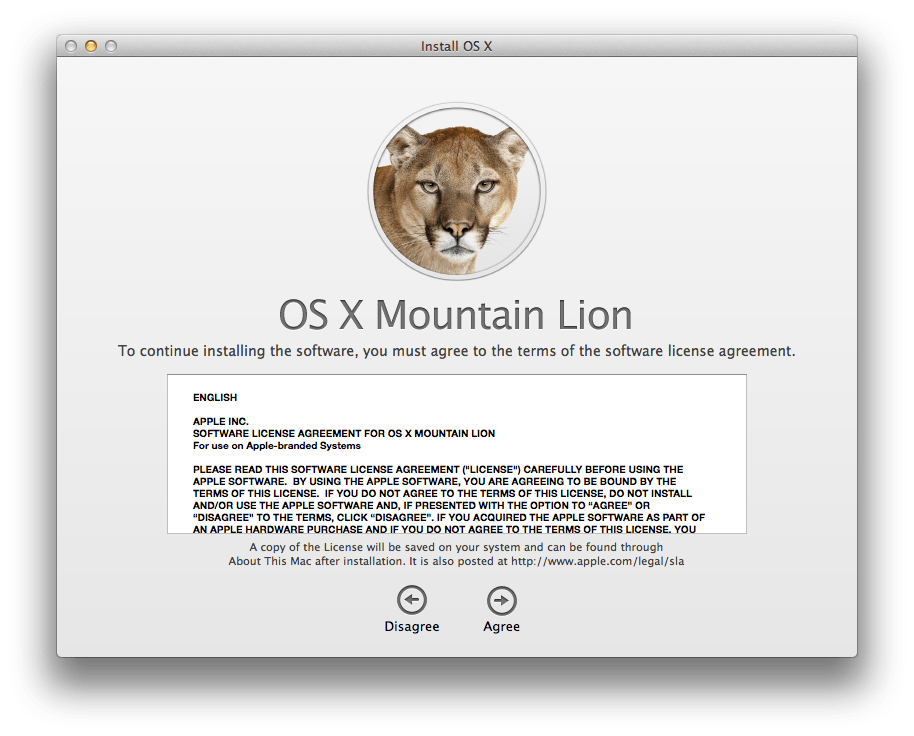
Read over the licensing agreement and click the
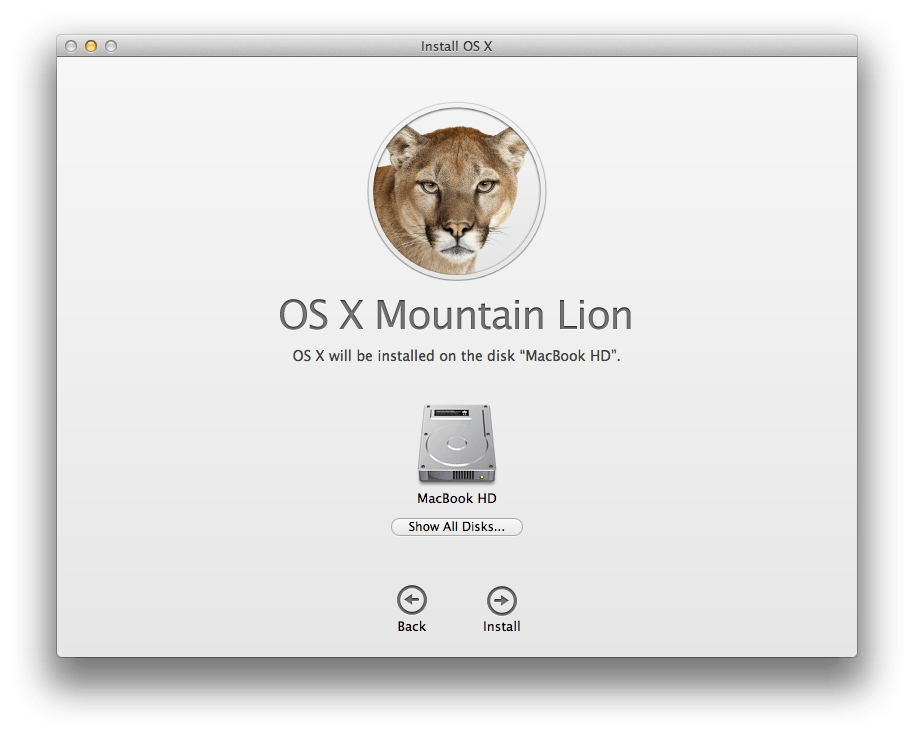
Agree button. On the next screen, click the
Show All Disks… button.
The external hard drive should now be available for selection. Click to select it, and click the
Install button.
You will be prompted once again, to confirm installation. Click the
Install button from the drop down prompt. Mac OS X will begin installing onto the external hard drive.
*Once you click the Install button, you will be prompted to exit all other applications that are running. OS X will also shut down, and switch to the external hard drive in order to install Mac OS X. Bookmark this page now, so that you can jump back to it once OS X finishes installing.*
Once Mac OS X finishes installing, you will have successfully completed this tutorial. Next, you may need to know how to choose a startup disk, which will allow you to switch between your primary install of OS X (the one on your computer), and the OS X install on the external hard drive.
You can choose a startup disk when Mac OS X first
starts up, or when you first power on your computer. Once you hear the chime sound, before the Apple logo appears, hold down the
option button on your keyboard. Hold it for approximately 5 seconds, and then release. Mac OS X will allow you to choose a device to boot from. From here, you can choose your internal or external hard drive.