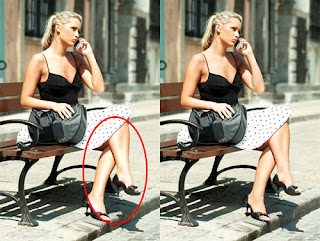
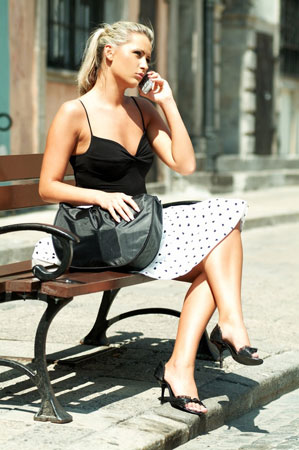
Original Image
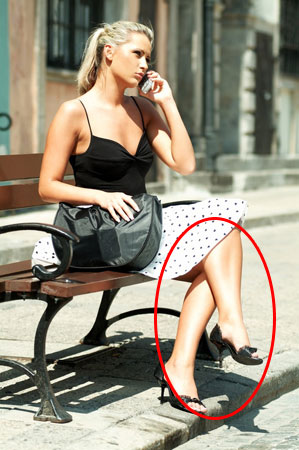
Fix Blown Out Skin Photoshop Tutorial
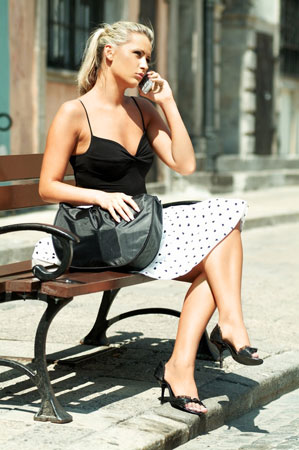
Fix Blown Out Skin Photoshop Tutorial
Step 1: Open a photo into Photoshop
Run Photoshop and open the photo you would like to retouch.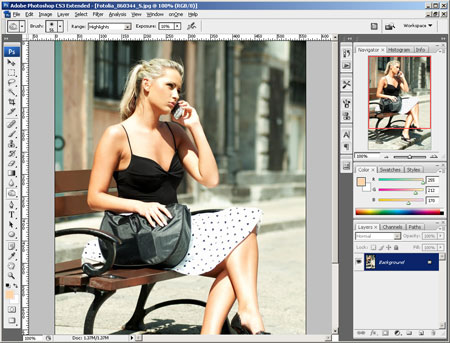
Step 2: Create a new layer
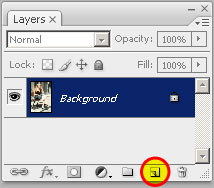
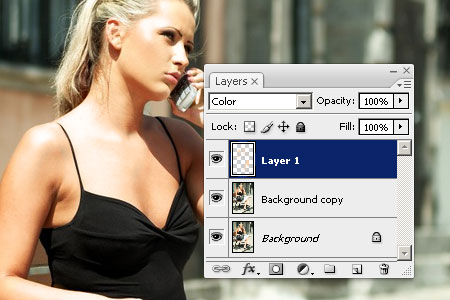
Click on the Create a New Layer button. This should create new layer called Layer 1.Step 3: Get the skin color
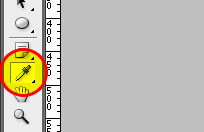
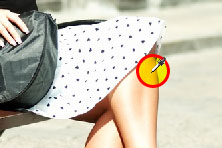
Select the Eye Dropper tool from the toolbar. Then click on an area of the skin that isn’t blown out or too dark. This will record the color of the skin as the foreground color.Step 4: Paint the blown out skin
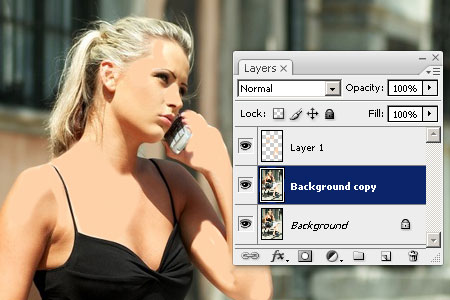
Before we begin, make sure that you have Layer 1 selected. Select the Brush tool from the toolbar and paint over the areas that are blown out. You don’t have to be too precise with the painting but keep the paint inside the skin. When you’re done, you should have a blotchy paint effect that covers the highlights of the skin.Step 5: Duplicate the layer
Select the Background layer and press Ctrl+J to duplicate the layer. You can also find the Duplicate Layer option from the Layer menu. Once you have a duplicate layer, change the blending mode of that Layer 1 to Color. The Color blend mode will make the layer only affect the color.Step 6: Select the Burn tool
Now select the Burn tool from the toolbar. If you can’t find the Burn tool, find the Dodge or Sponge tool, click and hold on it, and a menu should appear with the Dodge tool. Once you have the Burn tool selected, you can adjust the settings from the option bar near the top of the Photoshop application. In the option bar, enter in the following settings:Brush Hardness: 0
Range: Highlights
Exposure: 10%
If you have a pen tablet, you can use the pen instead of the mouse to paint. Click on the enable airbrush capabilities button located to the right of the Exposure field. With this enabled, you can use a pressure-sensitive pen to paint the areas instead of a mouse. The thickness or size of the brush will change according to the pressure you put on the pen.
Step 7: Burn the highlights
Paint over the highlights of the skin that’s overexposed or blown out. You can quickly adjust the size of your brush with the [ and ] keys. Once you have all the highlights painted, the skin tone should look smoother.








No comments:
Post a Comment